• Paintings
  • Painted Linocuts
  • Reduction Linocuts
  • Blog
  • Newsletter & Contact
Menu

Sophie Graine

  • Paintings
  • Painted Linocuts
  • Reduction Linocuts
  • Blog
  • Newsletter & Contact

Steps in a reduction linocut

May 12, 2024

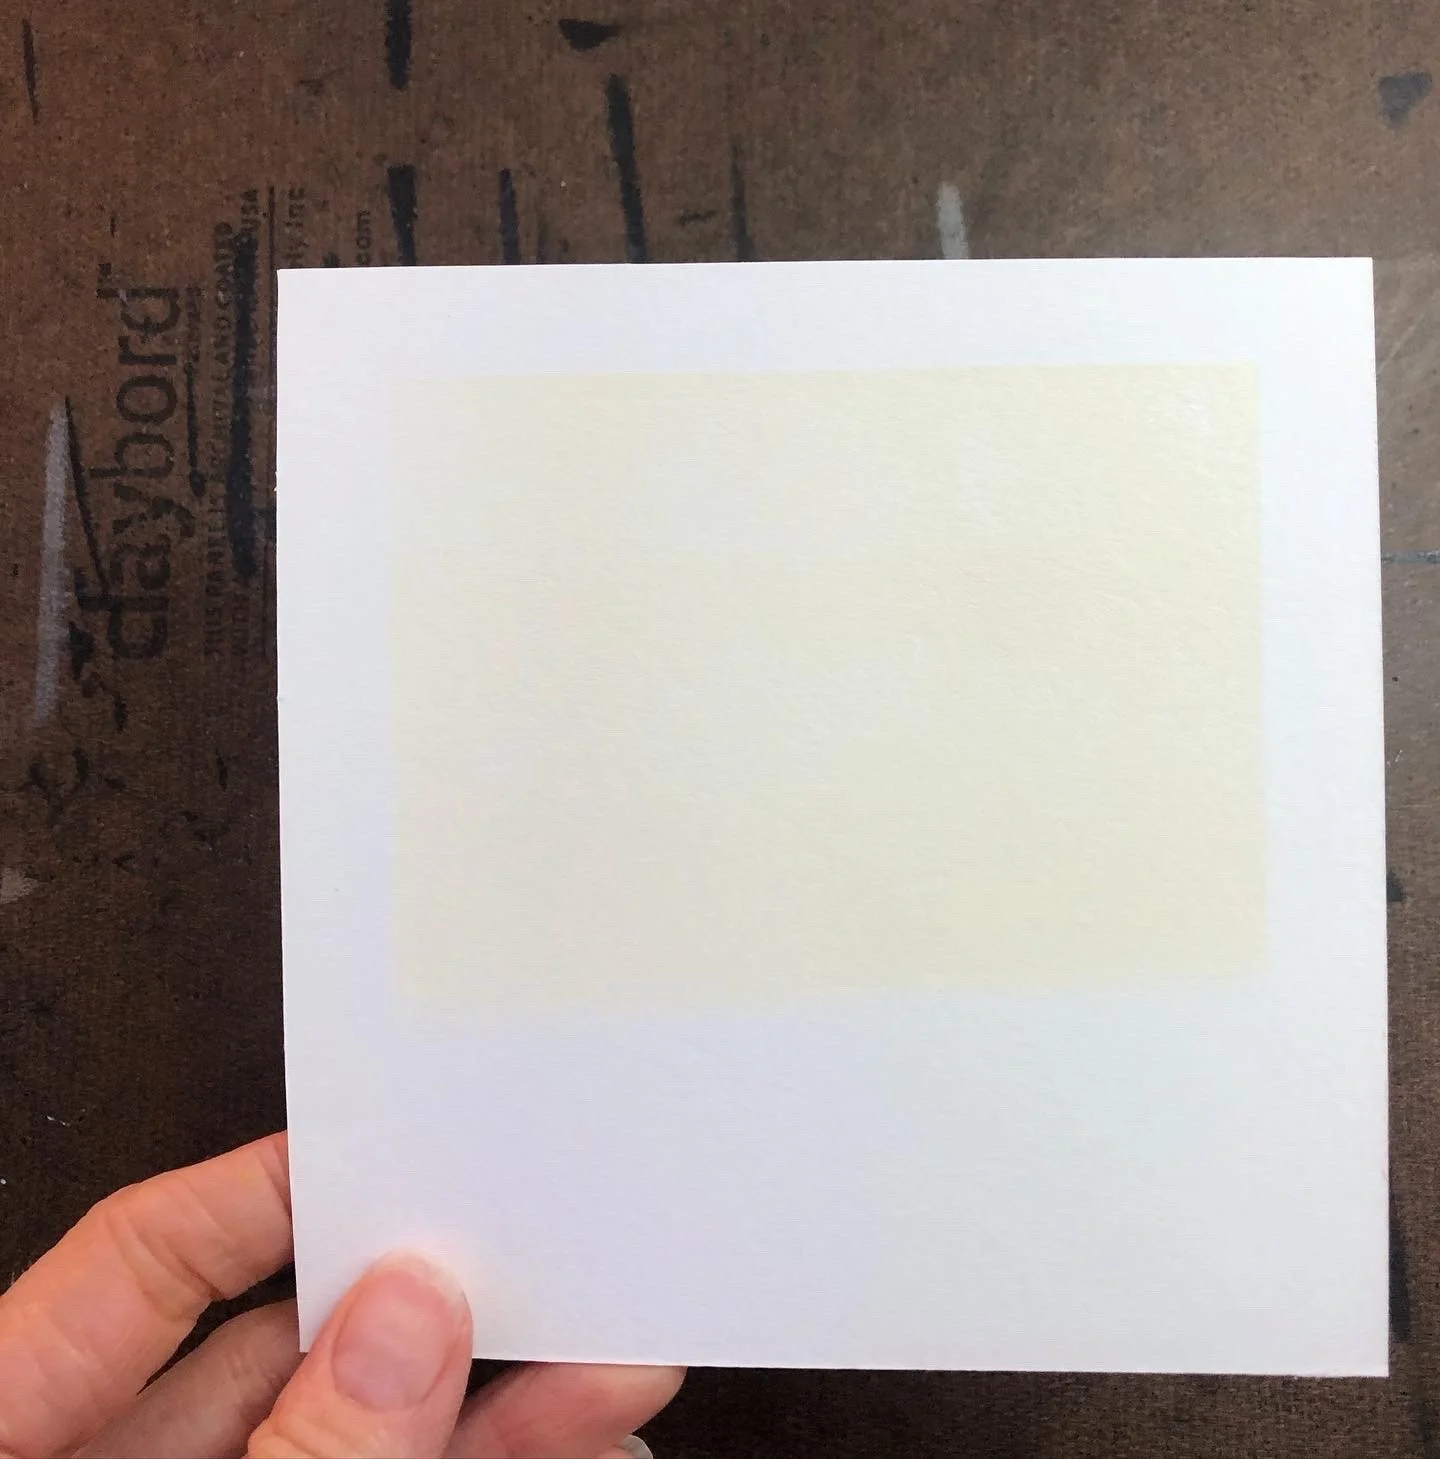
Creating a reduction linocut like the one pictured here takes many steps. At first, you carve away everything you want to remain white. Then, you print the next lightest colour - mixing the right shade of ink, rolling it onto the block, and printing each piece of cotton paper with that pale shade (here, of yellow).

Then, you consider what will stay this yellow colour, and what is destined to become darker? So you carve away the “to-stay-yellow” sections, consider the next darkest colour, and carry on.

At any step of the process, there is opportunity for change, both good and bad. A different colour can be mixed to enhance the final effect. A block can be knocked slightly off kilter, rendering a misprint.

A lot of trust is required, since you don’t know what the final print will look like for most of the journey. Below are the steps involved in this linocut.

← Sketching at the MuttartThe best thing about being a landscape painter →

Latest Posts

Featured
Feb 10, 2025
Upper Brazeau, a gently fierce and wild place
Feb 10, 2025
Feb 10, 2025
Jan 2, 2025
Experiencing it again, through sketching
Jan 2, 2025
Jan 2, 2025
Dec 26, 2024
Sketching at the Muttart
Dec 26, 2024
Dec 26, 2024
May 12, 2024
Steps in a reduction linocut
May 12, 2024
May 12, 2024
Apr 28, 2024
The best thing about being a landscape painter
Apr 28, 2024
Apr 28, 2024
Oct 30, 2023
When it's right, you just know
Oct 30, 2023
Oct 30, 2023
Jul 11, 2023
Hey, it's nice to meet you
Jul 11, 2023
Jul 11, 2023
Jul 10, 2023
Selecting Colours
Jul 10, 2023
Jul 10, 2023
May 1, 2020
Printmaker Survey
May 1, 2020
May 1, 2020

Powered by Squarespace